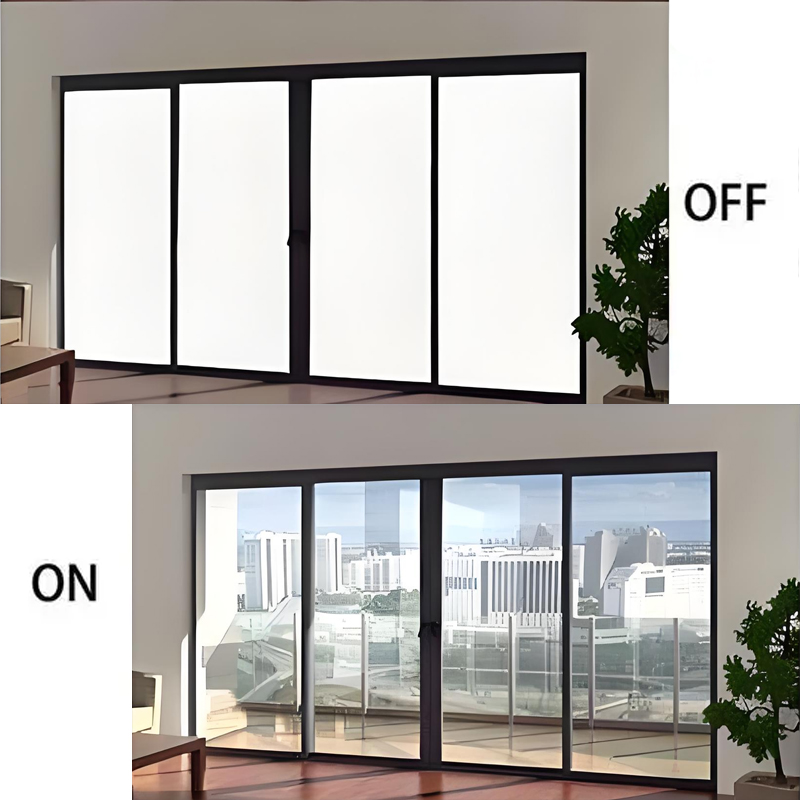
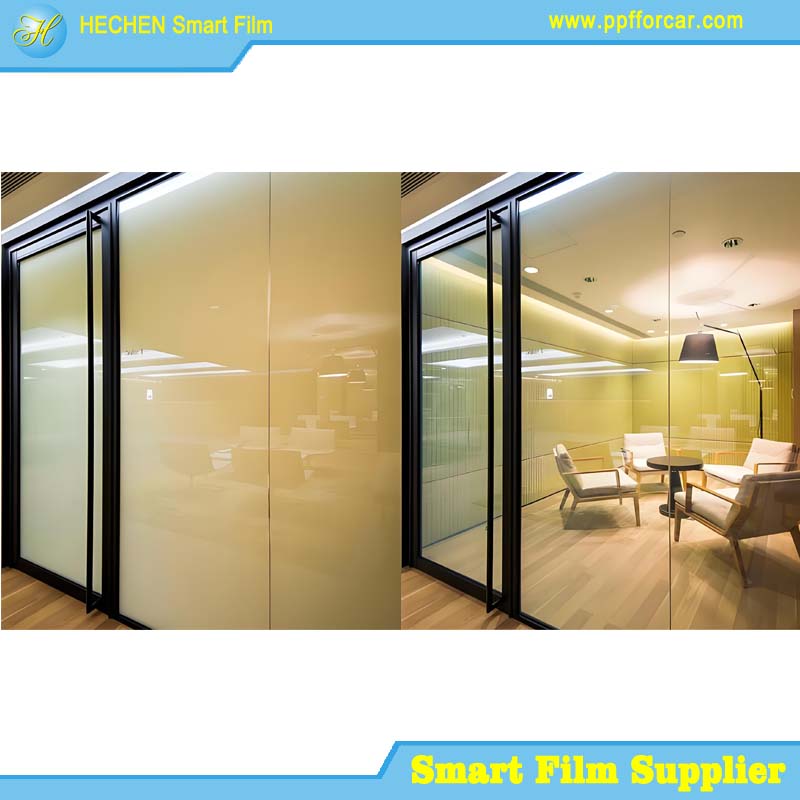
PDLC Smart Film Installation Guide for Vehicles
As smart automotive technology continues advancing, more vehicle owners and automotive customization companies are adopting PDLC smart film for cars to achieve intelligent privacy control, premium aesthetics, and enhanced passenger comfort.
However, even the highest-quality smart film can fail if installation is not performed correctly.
Professional PDLC smart film installation requires:
Precise glass preparation
Proper smart film wiring
Stable power connection
Correct transformer selection
Reliable edge sealing
Controlled installation temperature
In this technical installation guide, we’ll explain the complete process of automotive smart tint installation, including essential electrical components, installation precautions, and best practices for achieving long-term performance and durability.
Whether you are an installer, automotive customization company, distributor, or project contractor, this guide will help you understand the professional standards for installing automotive PDLC smart film.
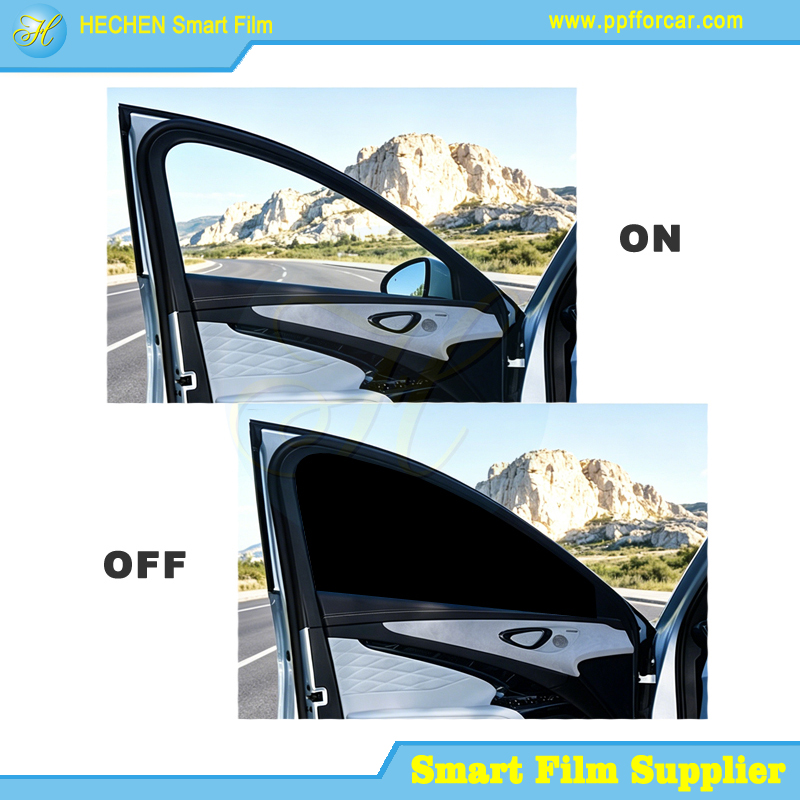
Why Professional Installation Matters
Compared with standard window tint, automotive smart tint installation is significantly more complex because the system combines:
Optical film technology
Electrical wiring
Power management
Environmental sealing
Poor installation may lead to:
Uneven transparency
Electrical instability
Edge peeling
Delamination
Shortened lifespan
That is why professional installation procedures are critical.
Tools and Materials Required
Before beginning PDLC smart film installation, prepare the following equipment.
Installation Tools
Required tools include:
Glass cleaning tools
Spray bottles
Squeegees
Precision cutting knives
Heat gun
Multimeter
Electrical tape
Edge sealing materials
Electrical Components
The smart film electrical system requires:
Transformer
Smart film wiring
Power connection cables
Busbar connectors
Switch or control module
Understanding the Electrical System
The electrical system is the core of automotive smart film functionality.
Power Connection Basics
Vehicle electrical systems typically provide DC power.
However, PDLC smart film usually requires AC voltage to operate correctly.
Therefore, the installation system must include:
Power conversion
Voltage stabilization
Safe electrical distribution
Transformer Function
The transformer converts automotive DC voltage into the AC voltage required by the smart film.
The transformer is essential because it:
Stabilizes power output
Protects film performance
Ensures fast switching
Prevents electrical damage
Choosing a high-quality transformer improves:
Transparency stability
Switching speed
System lifespan
Busbar Function
The busbar is the conductive strip attached to the smart film.
Its purpose is to:
Distribute voltage evenly
Ensure uniform transparency
Maintain stable electrical flow
Improper busbar installation may cause:
Uneven opacity
Slow switching
Electrical hotspots
Step-by-Step PDLC Smart Film Installation Process
Step 1: Vehicle Glass Inspection
Before installation:
Inspect all glass surfaces
Check for scratches
Identify curvature
Ensure compatibility
Curved automotive glass may require specialized installation techniques.
Step 2: Surface Cleaning
Surface preparation is one of the most important steps in PDLC smart film installation.
The glass must be:
Completely dust-free
Oil-free
Moisture-free
Even small particles can cause:
Air bubbles
Poor adhesion
Optical distortion
Professional installers usually perform multiple cleaning stages.
Step 3: Measuring and Cutting the Film
The smart film should be cut according to:
Exact glass dimensions
Curvature tolerance
Busbar positioning
Precision cutting improves:
Final appearance
Electrical consistency
Edge sealing performance
Step 4: Installation Temperature Control
Installation temperature is critical for successful adhesion.
Recommended installation temperature typically ranges between:
15°C to 30°C
Extreme temperatures can affect:
Adhesive performance
Film flexibility
Bubble formation
Long-term stability
Why Installation Temperature Matters
Low temperatures may cause:
Poor bonding
Adhesive hardening
Increased bubble risk
High temperatures may cause:
Premature adhesive curing
Film stretching
Alignment issues
Professional temperature control improves installation quality significantly.
Step 5: Applying the Smart Film
Carefully apply the film onto the glass surface while removing:
Water residue
Air pockets
Dust particles
The installer should use:
Soft squeegees
Controlled pressure
Uniform application techniques
Improper pressure can damage conductive layers.
Step 6: Busbar Installation
The busbar must be securely connected to the conductive layer.
Important considerations include:
Electrical continuity
Stable contact pressure
Insulation protection
Reliable busbar installation ensures:
Uniform voltage distribution
Fast transparency switching
Long-term electrical stability
Step 7: Smart Film Wiring
Proper smart film wiring is essential for safe and stable operation.
The wiring system typically includes:
Transformer connection
Switch control
Power supply routing
Grounding
Wiring Best Practices
Professional installers should:
Avoid wire bending stress
Protect exposed conductors
Use automotive-grade connectors
Ensure stable insulation
Poor wiring may result in:
Voltage instability
Flickering transparency
Electrical failure
Step 8: Power Connection Setup
The power connection should integrate safely with the vehicle’s electrical system.
The installation must include:
Voltage protection
Fuse protection
Stable transformer input
Proper grounding
Professional electrical integration improves:
System reliability
Vehicle safety
Smart film lifespan
Step 9: Edge Sealing
Edge sealing is one of the most important stages in automotive smart tint installation.
Edge sealing protects the film from:
Moisture intrusion
Dust contamination
Delamination
Electrical corrosion
Why Edge Sealing Is Critical
Vehicle environments involve:
Humidity changes
Temperature cycling
Rain exposure
Vibration
Without proper edge sealing, the film edges may fail prematurely.
Recommended Edge Sealing Materials
Professional installers typically use:
Silicone sealants
UV-resistant sealing materials
Waterproof edge protection
High-quality sealing significantly improves durability.
Step 10: System Testing
After installation, perform a complete system inspection.
Electrical Testing
Verify:
Transformer output
Voltage stability
Wiring continuity
Power safety
Optical Testing
Check:
Transparency uniformity
Switching speed
Bubble-free appearance
Edge integrity
Common Installation Mistakes
Understanding common mistakes helps avoid costly failures.
Poor Surface Cleaning
Dust contamination can cause:
Air bubbles
Weak adhesion
Optical distortion
Incorrect Busbar Positioning
Improper busbar placement may lead to:
Uneven switching
Voltage loss
Film instability
Weak Edge Sealing
Insufficient edge sealing increases the risk of:
Moisture penetration
Delamination
Corrosion
Unstable Transformer Selection
Low-quality transformers may cause:
Flickering
Slow switching
Electrical overheating
Why Automotive PDLC Installation Is More Complex Than Standard Tint
Traditional window tint is passive.
PDLC smart film is an active electronic system.
Therefore, automotive smart tint installation requires expertise in:
Electrical integration
Voltage control
Optical alignment
Environmental protection
This is why professional installers are strongly recommended.
Benefits of Proper Smart Film Installation
Professional installation provides:
Stable transparency switching
Long system lifespan
Premium visual appearance
Reliable electrical safety
Improved customer satisfaction
Choosing the Right Smart Film Supplier
A reliable supplier should provide:
Installation manuals
Wiring diagrams
Transformer specifications
Technical support
OEM solutions
Strong supplier support reduces installation risks significantly.
Frequently Asked Questions
What is required for PDLC smart film installation?
Installation requires:
Smart film
Transformer
Busbar connection
Wiring system
Edge sealing materials
Why is the transformer important?
The transformer converts vehicle DC power into the AC voltage required for PDLC smart film operation.
What is a busbar in smart film?
The busbar distributes electrical current evenly across the film surface.
Why is edge sealing important?
Edge sealing protects the film from moisture, dust, and delamination.
What is the best installation temperature?
Most automotive smart film installations perform best between 15°C and 30°C.
Can PDLC smart film be installed on curved automotive glass?
Yes, but curved glass requires professional installation techniques and compatible film specifications.
Final Thoughts
Professional PDLC smart film installation is essential for achieving stable performance, long lifespan, and premium vehicle appearance.
Compared with standard window tint, automotive smart tint installation involves:
Electrical engineering
Smart film wiring
Transformer integration
Busbar connection
Edge sealing protection
Temperature-controlled installation
When properly installed, PDLC smart film provides:
Intelligent privacy
Luxury aesthetics
Smart vehicle functionality
Enhanced passenger comfort
Whether you are:
An automotive installer
Smart film distributor
Vehicle customization company
Commercial mobility integrator
working with a reliable supplier and following professional installation standards is critical for long-term success in the growing automotive smart glass industry.