How to Install Removable Tint for Car Windows Without Glue
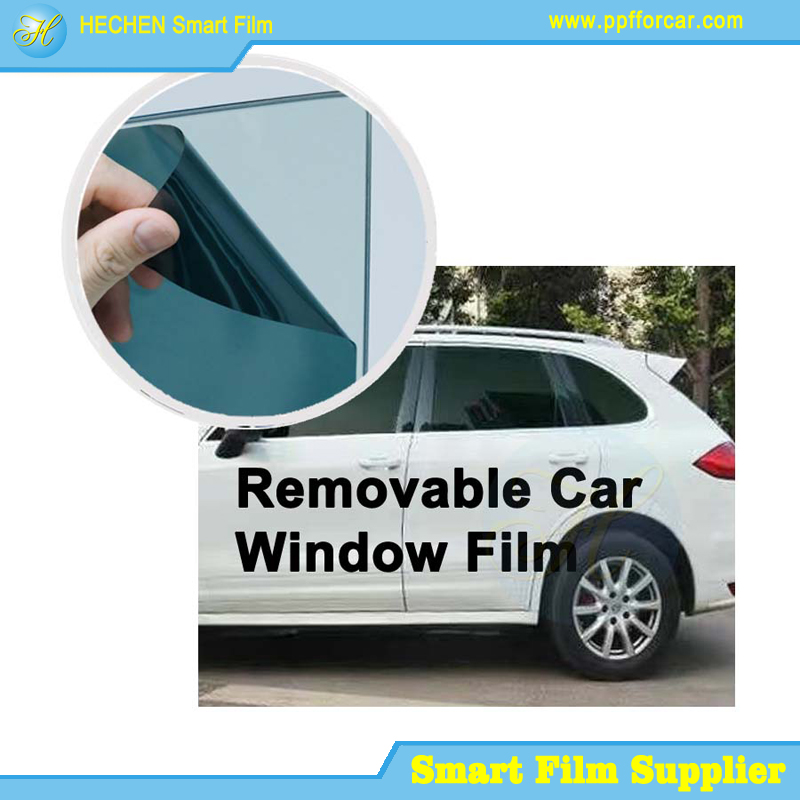
As more drivers look for flexible and reusable automotive privacy solutions, DIY removable car tint is becoming increasingly popular. Unlike traditional adhesive tint film, modern static cling window tint for cars uses electrostatic adsorption technology, allowing users to install and remove the film quickly without glue, residue, or permanent modification.
Because of its reusable structure and easy installation process, removable electrostatic tint film is ideal for rental vehicles, leased cars, temporary privacy applications, and DIY automotive customization.
In this guide, we explain the complete removable car window tint installation process, including preparation, installation techniques, common mistakes, and methods for maximizing reusable performance.
Tools Needed for Installation
Before installing static cling window tint for cars, prepare the necessary tools to ensure smooth application and professional results.
Recommended Installation Tools
| Tool | Purpose |
|---|---|
| Spray bottle | Applies water mist for positioning |
| Microfiber cloth | Cleans glass surface |
| Rubber squeegee | Removes air bubbles and water |
| Utility knife | Trims excess film |
| Measuring tape | Ensures accurate sizing |
| Heat-resistant gloves | Optional for handling large film sheets |
Using proper tools significantly improves installation quality and reduces air bubble formation.
Recommended Installation Environment
For best results, perform DIY removable car tint installation in:
Indoor garages
Dust-free environments
Moderate temperatures (15°C–30°C)
Low-wind conditions
Avoid direct sunlight during installation because excessive heat may accelerate water evaporation and reduce positioning flexibility.
Preparing the Glass Surface
Surface preparation is one of the most important steps in successful removable car window tint installation.
Even though electrostatic film does not use glue, dust and oil contamination can reduce static adsorption performance.
Step 1: Wash the Window Thoroughly
Use clean water or alcohol-free glass cleaner to remove:
Dust particles
Fingerprints
Oil residue
Silicone contamination
Avoid cleaners containing wax or heavy chemicals because they may interfere with electrostatic adhesion.
Step 2: Dry the Surface Completely
After cleaning, wipe the glass using a lint-free microfiber towel.
Inspect the window carefully under strong lighting to ensure no particles remain trapped on the surface.
Step 3: Check Window Temperature
The ideal installation temperature for static cling window tint for cars is between:
15°C and 30°C
59°F and 86°F
Low temperatures may reduce electrostatic performance, while extremely high temperatures can create installation difficulties.
How Electrostatic Adsorption Works
Unlike conventional adhesive films, removable tint uses electrostatic adsorption technology to attach to automotive glass.
What Is Electrostatic Window Film?
Electrostatic film contains a specially engineered static cling layer that creates temporary molecular attraction when pressed against smooth glass surfaces.
Because no glue is involved, the film can:
Be repositioned during installation
Be removed instantly
Leave no residue
Be reused multiple times
Advantages of Electrostatic Car Window Film
No Adhesive Residue
Traditional adhesive tint may leave glue marks after removal. Electrostatic film eliminates this issue entirely.
Reusable Structure
High-quality DIY removable car tint products can maintain stable adsorption through repeated installation cycles.
Safer for OEM Glass
Electrostatic film reduces the risk of damage to:
Rear defroster lines
Factory window coatings
Sensitive automotive glass components
Step-by-Step Installation Guide
Correct installation technique is essential for achieving professional appearance and long-lasting performance.
Step 1: Measure the Window
Measure the target window carefully and cut the removable tint film slightly larger than the glass dimensions.
This allows for precise trimming after positioning.
Step 2: Spray Water Mist
Lightly spray clean water onto the glass surface.
The water layer helps reposition the film during installation and minimizes trapped air.
Do not oversaturate the window.
Step 3: Peel Protective Backing
Carefully remove the protective liner from the electrostatic film.
Avoid touching the static cling surface excessively to prevent contamination.
Step 4: Position the Film
Align the static cling window tint for cars with the upper edge of the window first.
Slowly press the film against the glass while maintaining alignment.
Step 5: Remove Air and Water
Use a rubber squeegee to push trapped water and air bubbles toward the edges.
Start from the center and move outward using overlapping strokes.
Step 6: Trim Excess Material
After positioning is complete, trim excess film along the edges using a sharp utility knife.
Ensure smooth edge alignment for professional appearance.
Step 7: Final Inspection
Inspect the installation under strong lighting.
Minor water haze usually disappears after several hours.
How to Remove the Tint in One Second
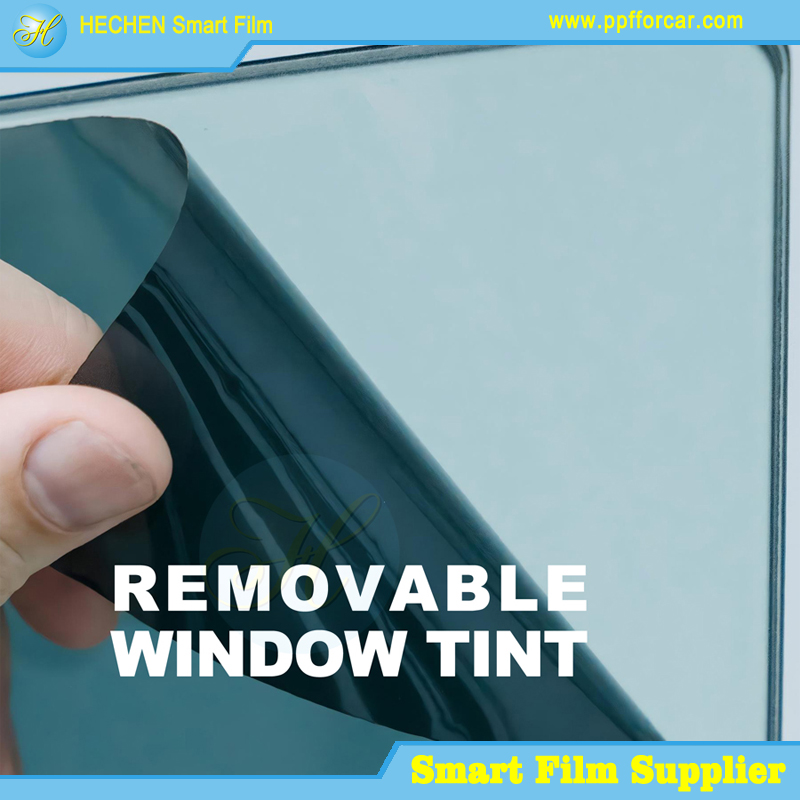
One major advantage of DIY removable car tint is its instant removal capability.
Simple Removal Process
To remove the film:
Lift one corner carefully
Peel slowly downward
Store the film on protective backing material
No chemicals, scraping, or adhesive removers are required.
Proper Storage After Removal
For maximum reusability:
Store flat whenever possible
Keep away from dust
Avoid folding
Protect from sharp objects
Use original backing liner
Proper storage significantly extends the lifespan of reusable electrostatic tint film.
Common Installation Mistakes
Even though removable car window tint installation is easier than adhesive tint installation, some common mistakes can affect final results.
Installing on Dirty Glass
Dust particles trapped beneath the film can create bubbles and reduce adhesion performance.
Using Excessive Water
Too much water may weaken temporary electrostatic attachment during installation.
Installing Under Direct Sunlight
High heat can cause rapid evaporation, making film positioning more difficult.
Touching the Static Layer Excessively
Finger oils may reduce electrostatic performance over time.
Using Sharp or Hard Squeegees
Improper tools may scratch the film surface.
How to Reuse the Film Multiple Times
One of the most valuable features of static cling window tint for cars is reusable performance.
Cleaning Before Reuse
If dust accumulates on the film:
Rinse gently with clean water
Allow natural drying
Avoid abrasive cloths
Avoid Excessive Folding
Folding may create permanent creases that affect installation appearance.
Protect the Electrostatic Layer
Always store the film using protective liners to prevent contamination.
Maintain Stable Temperature Storage
Avoid storing film under extreme heat or freezing conditions.
With proper maintenance, high-quality reusable car window film can remain functional for years.
Conclusion
As automotive consumers increasingly demand flexible and easy-to-install privacy solutions, DIY removable car tint provides a practical alternative to traditional adhesive films. Through advanced electrostatic adsorption technology, users can enjoy reusable performance, instant removal, and glue-free installation without damaging automotive glass.
Whether for rental vehicles, temporary heat protection, commercial fleets, or personal privacy, static cling window tint for cars offers outstanding convenience and long-term value.
For wholesalers, distributors, and OEM automotive accessory brands, removable electrostatic tint film represents a rapidly growing market opportunity driven by DIY demand and reusable product trends.
Recommended linking:
The Complete Guide to Removable Tint for Car Windows
Recommend related products: