How to Quickly Install Switchable Glass Film-Step-by-Step Installation Guide
In today's fast-paced world, where privacy, energy efficiency, and modern aesthetics are paramount, switchable glass film has emerged as a revolutionary solution for transforming ordinary glass surfaces into smart, controllable elements. Also known as smart film or privacy film, this innovative technology allows users to switch glass from transparent to opaque at the flick of a switch or via a remote control. Imagine turning your office windows private during a confidential meeting or dimming your home's glass partitions to block out prying eyes—all without the need for curtains or blinds.
Switchable glass film is particularly appealing for those seeking a quick upgrade to their spaces. Whether you're a homeowner looking to enhance privacy in bathrooms or bedrooms, a business owner aiming to create dynamic conference rooms, or even an architect incorporating smart tech into designs, installing this film can be done efficiently with the right approach. The key to a quick installation lies in thorough preparation, using the correct tools, and following streamlined steps to avoid common pitfalls like bubbles or misalignment.
This article will guide you through the process of installing switchable glass film quickly and effectively, aiming for a professional finish in under a few hours for most standard windows. We'll cover everything from understanding the technology to step-by-step instructions, troubleshooting, and maintenance. By the end, you'll be equipped to tackle this DIY project with confidence, saving time and potentially hundreds of dollars on professional installation services. Note that while this is a DIY-friendly task, always prioritize safety, especially when dealing with electrical components.
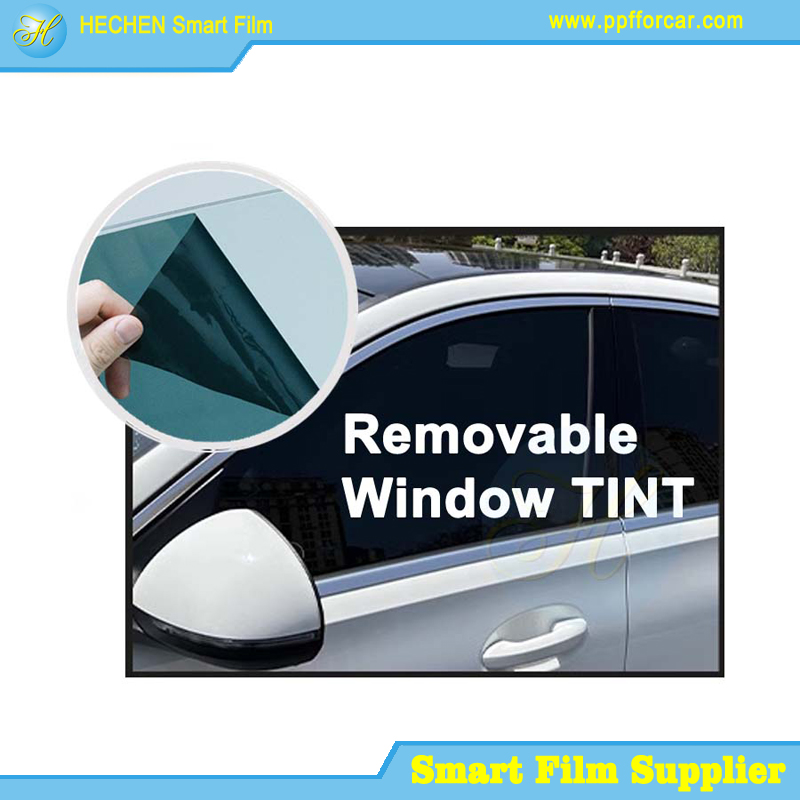
Switchable glass film works by embedding liquid crystals or particles within a thin polymer layer. When no electricity is applied, the film appears frosted or opaque; when powered, it becomes clear. This on-demand functionality not only provides instant privacy but also blocks up to 99% of UV rays, reducing fading on furniture and improving energy efficiency by controlling heat gain. With advancements in adhesive technology, modern films are self-adhering, making installation faster than ever before.
 Understanding Switchable Glass Film
To install switchable glass film quickly, it's essential to first grasp what it is, its types, and its benefits. This knowledge ensures you select the right product and approach the installation with efficiency in mind.
PDLC Film: The most common type, using polymer-dispersed liquid crystals. It's affordable, easy to install, and offers excellent privacy. However, it doesn't fully block light in the opaque state—it's more like a frosted effect.
Electrochromic Film: This changes tint through electrochemical reactions, often used for energy-saving windows. It's slower to switch (seconds to minutes) but provides variable shading levels.
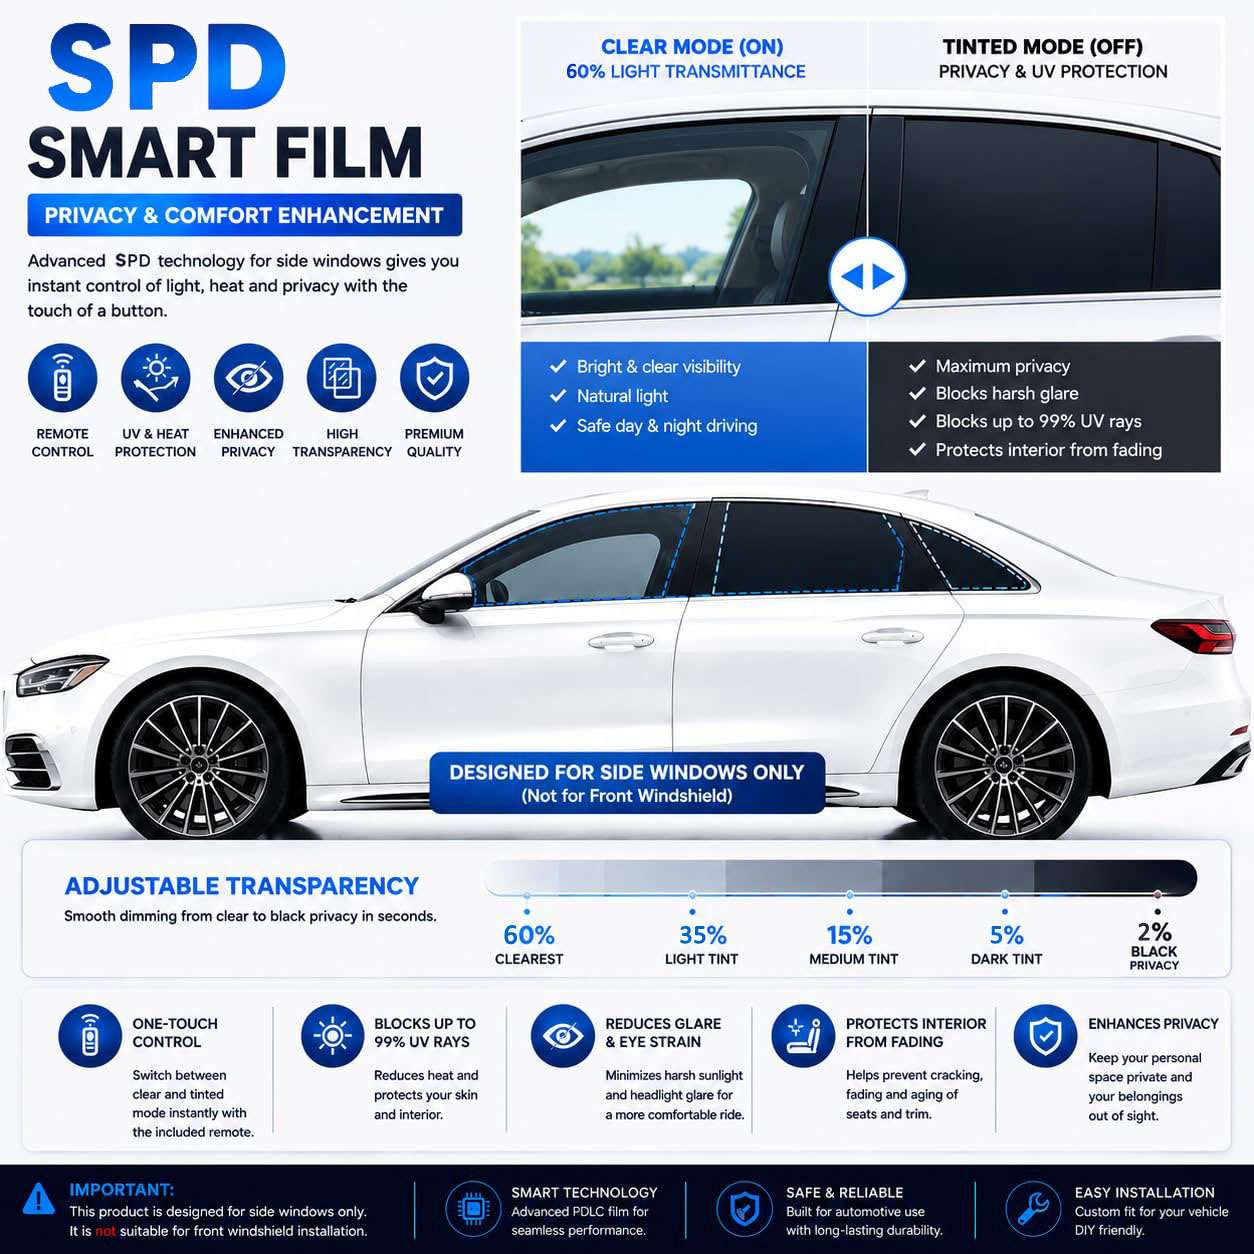
Suspended Particle Device (SPD) Film: Particles suspended in the film align with electricity to control light transmission. It's great for automotive use but less common for home installations due to higher costs.
Thermochromic or Photochromic Variants: These react to temperature or UV light rather than electricity, but they're not truly "switchable" on demand.
Privacy on Demand: Switch to opaque mode instantly for meetings, showers, or relaxation, eliminating the need for blinds that take time to adjust.
Energy Efficiency: Blocks up to 99% of infrared (IR) and UV rays when opaque, reducing cooling costs by up to 20% in hot climates and preventing interior fading.
Aesthetic and Versatile: Enhances modern interiors without bulky hardware. It can double as a projection screen in opaque mode for home theaters.
Durability and Low Maintenance: Resistant to scratches and easy to clean, with a lifespan of 10-20 years under normal use.
Health and Comfort: Reduces glare, promotes natural light when clear, and can improve acoustics by adding a layer to glass.
Cost-Effective Retrofit: Unlike replacing entire windows with smart glass, film installation is quicker and cheaper, often costing $20-50 per square foot.
Materials and Tools Needed
Gathering all materials and tools beforehand is crucial for a quick installation—aim to have everything ready in 15-20 minutes to avoid interruptions. Most items are available at hardware stores or online from suppliers like Smart Tint or Gauzy.
Switchable glass film (pre-cut to size; order 2-3mm smaller than glass dimensions for tolerance).
Neutral silicone sealant (e.g., Dow Corning or Toshiba GE83) for edge sealing.
18-gauge electrical wires for connections.
Power transformer (48-60VAC output, depending on film specs; one per 100-120 sq ft).
Switch or remote control unit (dimmable options available).
Lead-free solder for secure wiring.
Non-conductive trim or tape to cover wires.
Squeegee (hard rubber for bubble removal).
Razor blade or window scraper (polycarbonate to avoid scratches).
Nitrile gloves (to prevent oils from fingers damaging adhesive).
Microfiber cloths and isopropyl alcohol (99% for cleaning).
Wire stripper and soldering iron.
Measuring tape and utility knife (for any trimming).
Low-adhesive painter's tape (for alignment and dust removal).
Optional: Air particulate meter for dust checks, or a spray bottle for misting air (not for glass).
 Preparation
Preparation is the foundation of a quick installation—dedicate 30-45 minutes here to save hours later. A rushed prep can lead to bubbles, misalignment, or electrical issues, so follow these steps meticulously.
First, create a clean, dust-free environment. Work in a well-lit room with natural or even artificial light to spot imperfections easily. Measure air particulates if possible; levels should be low (PM2.5 or below). If dusty, spray water mist into the air an hour beforehand to settle particles—ideal during renovations. Close doors and windows to minimize airflow.
Clean the glass thoroughly—this step alone can make or break speed. Use a razor scraper to remove any residue, then spray with isopropyl alcohol and wipe with microfiber cloths until streak-free. Avoid water or chemicals on the adhesive side; this is a dry installation to preserve the electrostatic layer. Wear nitrile gloves throughout to avoid fingerprints.
Step-by-Step Installation Guide
Now for the core: installing the film quickly. This dry method, based on industry standards, can take 30-60 minutes per panel with practice. Proceed slowly at first for accuracy.
Peel back 20-30mm (about 1 inch) of the protective liner from the adhesive side (marked "stick" or similar). Align the film's top edge with the glass's top, ensuring even spacing. Press down gently with your gloved hand or squeegee to secure. Have your helper hold the film taut to prevent sagging.
Step 2: Gradually Apply the Film (10-20 minutes)
Step 3: Trim and Final Squeegee (5 minutes)
Step 4: Seal the Edges (10 minutes)
Tips for Speed:
Work top-down to leverage gravity.
For curved glass, heat the film slightly with a hairdryer (low setting) for flexibility, but test first.
If installing multiple panels, do them sequentially to build rhythm.
Avoid rush-hour dust; early morning or evening is best.
Wiring and Electrical Setup
Wiring is the technical part but can be done in 15-20 minutes with care. Use 48-60VAC as specified—higher voltages damage the film.
Troubleshooting Common Issues
Maintenance and Care
 Conclusion
Installing switchable glass film quickly transforms your space with privacy and efficiency. By preparing well and following these steps, you'll achieve pro results in minimal time. Enjoy your smart upgrade!
For more about how to quickly install switchable glass film-step-by-step installation guide, you can pay a visit to Hechen PDLC Smart Film Manufacturers for more info.