No More Bubbles: Professional Tips for Applying Smart Film to Curved Car Windows
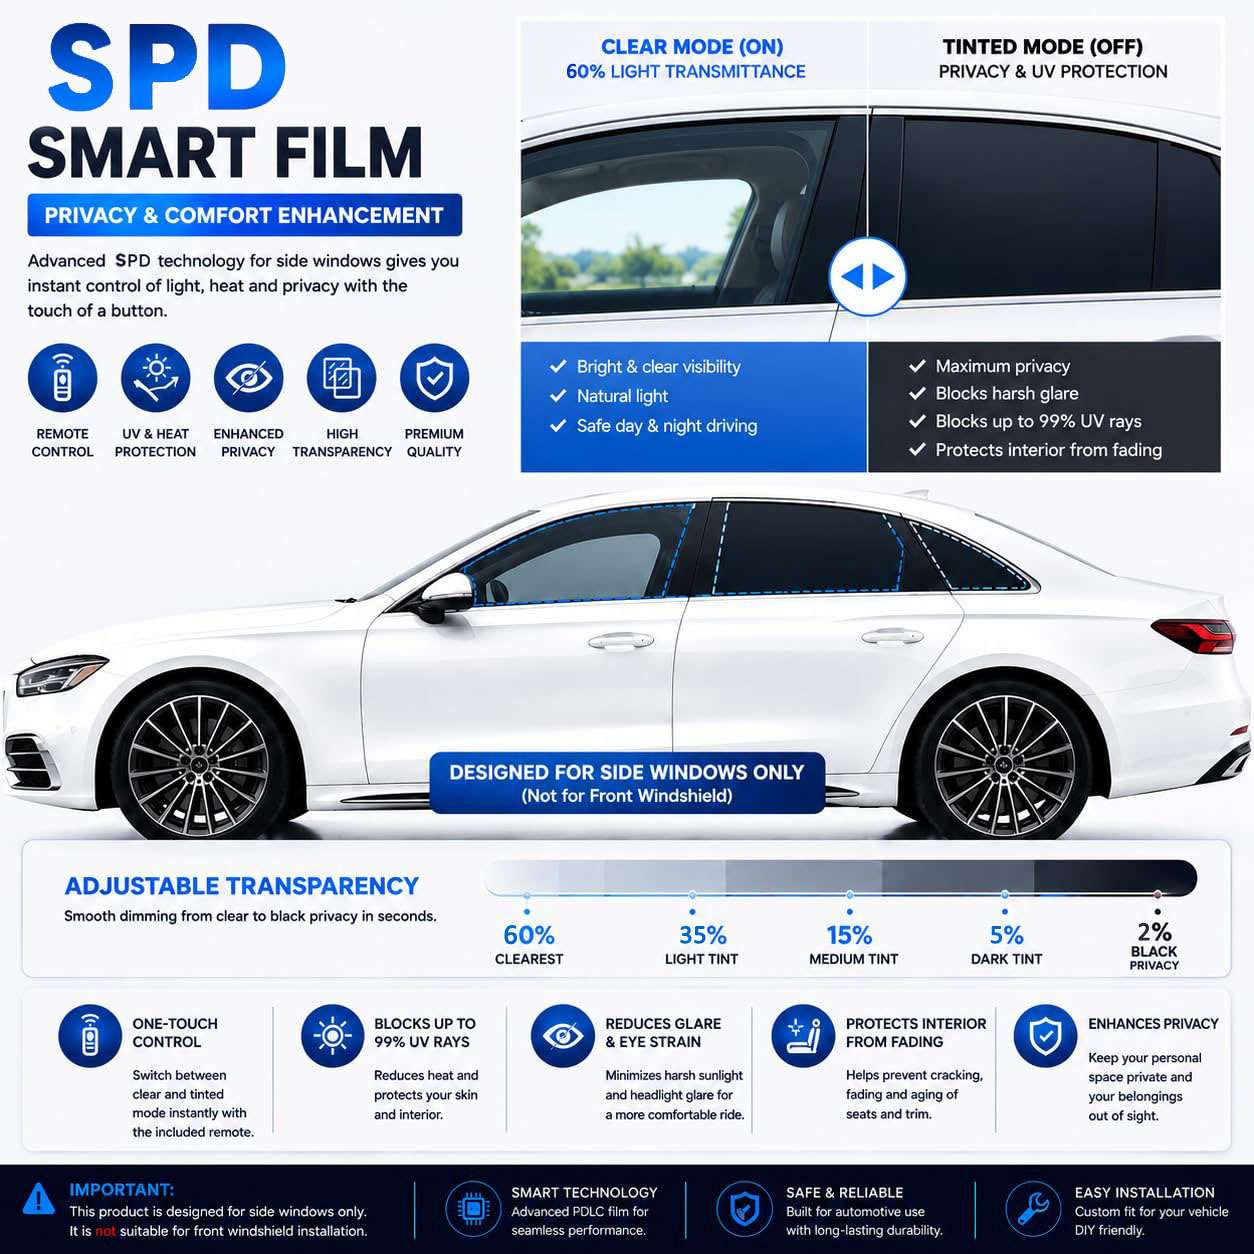
Smart film—also known as switchable film or PDLC (Polymer Dispersed Liquid Crystal) film—has revolutionized the automotive customization industry. It offers instant privacy, UV protection, and a high-tech aesthetic that allows windows to switch from opaque to transparent at the flick of a switch. However, while applying smart film to flat architectural glass is challenging enough, applying it to the compound curves of a car window introduces a unique set of difficulties.
The number one enemy of any installation is bubbles. For automotive applications, bubbles are not just an eyesore; they can interfere with the electrical charge required to switch the film, leading to dead spots. To achieve a factory-finish installation on curved glass, you must move beyond basic DIY methods and adopt professional-grade techniques.
This guide provides a deep dive into the physics, preparation, and application methods required to ensure a bubble-free installation of smart film on curved car windows.

1. Understanding the Challenge: Why Curved Glass is Different
Before picking up a squeegee, it is vital to understand why curved windows are so problematic. Car windows are rarely flat; they feature compound curves (curving in two directions simultaneously, like a sphere).
The Rigidity Factor: Standard window tint is flexible and stretchable. Smart film, however, is a "sandwich" of materials: a PET (polyethylene terephthalate) layer, a conductive coating, the liquid crystal interlayer, and another PET layer. This composite structure is stiffer than standard tint. When you try to conform a rigid sheet to a compound curve, the material wrinkles. If you force it down, these wrinkles manifest as "bridging" or, eventually, as massive bubbles where the film lifts off the glass.
The Adhesive Factor: Most smart films use a pressure-sensitive adhesive (PSA). On flat glass, this is forgiving. On curved glass, the PSA is under constant stress from the film trying to return to its flat state. If any contamination or air is trapped, the tension of the curve will eventually cause the bubble to expand.
2. The Holy Grail: Dry Application vs. Wet Application
In the tinting world, there are two primary methods: wet and dry. For automotive curved glass, the professional standard is shifting toward a hybrid approach that favors dry application (or "dry-tucking") for the initial lay-down.
Wet Application (The Traditional Method): You spray a slip solution (soap and water) onto the glass, place the film, and squeegee out the liquid. This is great for flat glass but risky for smart film on curves. The slip solution can take days to fully cure out of the center of the glass. If the film is stressed over a curve, the moisture can act as a lubricant, allowing the film to shift or the liquid to pool, creating large hydraulic bubbles that won't disappear.
Dry Application (The Professional Choice): This involves using a minimal amount of solution or a specialized tacking spray that allows the film to grab the glass instantly. By reducing slip, you eliminate the risk of the film moving after placement and reduce the chance of liquid entrapment.
3. Step 1: The Pre-Installation Audit
Professional results begin before the film is even unboxed.
Cleaning: The 99.9% Rule
If you leave a speck of dust behind, you will have a bubble. Period.
Deep Clean: Wash the window thoroughly with a clay bar to remove bonded contaminants.
The Final Wipe: Use a 50/50 mixture of isopropyl alcohol (IPA) and distilled water. IPA eliminates all oils and evaporates instantly, leaving a perfectly clean surface.
Lint-Free is Mandatory: Use only professional lint-free shop towels. Paper towels will leave fibers behind, which become bubbles.
The "Tack" Test
Before cutting the film, run your finger along the edge of the glass. Feel for the curve. Identify the "apex"—the highest point of the curve. This is where your film will experience the most stress. Knowing where the apex is tells you where you must focus your heat and pressure to get the film to conform.
4. Step 2: Cutting and Trimming (The Overhang Method)
Never cut the film exactly to size while it is on the backing liner.
Rough Cut: Cut the film so it overlaps the glass by at least 1-2 inches (2.5-5 cm) on all sides.
The "Gasket Tuck": For car windows, the edges are usually hidden behind rubber gaskets. You need enough material to tuck under these gaskets. If you cut flush to the glass, the edges will peel back immediately due to the curve tension.
Heat Shrinking (The Secret Weapon): Lay the film (with liner still on) over the outside of the window. Use a heat gun to gently warm the film. You will see it begin to shrink and conform to the convex curves. This "pre-shrinking" relieves the tension in the material, making it much easier to apply to the concave interior without fighting the film's memory.

5. Step 3: The Application Process (Bubble-Free Zone)
This is the critical phase. We will focus on the "Hinge Method" combined with "Anchoring."
Tools Required:
High-quality squeeze (felt on one side, hard plastic on the other).
Heat gun (with variable temperature control).
Application slip solution (baby shampoo/distilled water mix, 5ml per 500ml).
Tack rag.
The Procedure:
1. The Tack Rag Dust-Off:
Just before you peel the liner, wipe the glass one final time with a tack rag. This picks up any lint that has settled during your preparation.
2. Peel and Spray (The Controlled Exposure):
Peel the liner back about 4-6 inches from the top of the film. Spray the adhesive side of the film lightly with your slip solution. Spray the glass where this top section will go.
Why? A light spray allows you to reposition the top edge, but it dries quickly enough to prevent the film from sliding down the curve later.
3. The Anchor (Hinge Method):
Apply that top 4-6 inches to the glass. Use your hard squeegee to anchor it firmly across the top edge. This is your "hinge." Lift the rest of the film up (like opening a book) so the liner is exposed but the top is stuck.
4. Removing the Liner Mid-Air:
Carefully remove the remaining liner from the film. Now you have a giant, sticky sheet hanging from a hinge. Spray the film's adhesive again lightly to keep it from sticking to itself as you work.
5. The "Heart" Squeegee (Ejecting Air):
Lower the film onto the glass. Do not just drop it. Use your free hand to guide it down, starting from the center (the apex) and working outwards.
Use the soft felt side of the squeegee first. Push from the center of the glass horizontally toward the edges. You are pushing the air and solution out to the sides, not up and down.
The Bubble Trap: Beginners squeegee up and down. On a curve, this traps air at the top and bottom. Always squeegee from the center to the perimeter.
6. Thermal Conformation (The Heat Gun Trick):
Even with pre-shrinking, you will likely have "fingers" or creases at the edges where the curve is tight.
Do not cut these fingers off yet.
Use your heat gun on a medium setting (around 300°F / 150°C). Heat the finger and the surrounding area.
Immediately run your hard squeegee over the heated area, forcing the softened film to lay flat into the curve.
The Science: The heat softens the PET layers, allowing the film to "creep" and relax into the curve without springing back. This eliminates the tension that would later cause the edge to lift and create a bubble.
7. Edge Tucking:
Once the film is flat and bubble-free on the face of the glass, use a plastic wedge tool (or the hard edge of the squeegee wrapped in a microfiber) to push the excess film down into the rubber gasket. This creates a sealed, waterproof edge.
6. Troubleshooting Common Bubble Scenarios
Even with perfect technique, issues can arise. Here is how to fix them professionally.
Scenario A: The Water Bubble (Hydraulic Pocket)
You see a bubble filled with liquid, usually near the edge.
The Mistake: You used too much slip solution, and it pooled in a low spot of the curve.
The Fix: You cannot "squeegee" this out once the edges are sealed. Take a pin or a very sharp X-Acto knife. Poke the lowest edge of the bubble. Do not poke the center. Push the liquid toward the pinhole with your finger and squeegee it out. The tiny hole will usually heal itself due to the adhesive, but if it remains visible, a tiny drop of clear adhesive can seal it.
Scenario B: The "Starfish" (Dust Particle)
A small bubble with "arms" radiating out.
The Cause: A speck of dust is holding the film off the glass.
The Fix: If the film is freshly applied, you can sometimes lift the film carefully back to that point (using a second person or a lot of patience), pick the dust off with tweezers, and re-squeegee. If the film has set for more than an hour, this is very risky as you may stretch the film.
Scenario C: The Silvery Haze (Adhesive Failure)
A bubble that looks shiny or milky, usually in the center of a deep curve.
The Cause: The film is "tenting." It has not bonded to the glass because the curve is too steep, and the film is too rigid.
The Fix: This requires heat. Warm the area thoroughly and use a firm, slow squeegee pass from the center out to force the adhesive to make contact. If that fails, the film may need to be re-stretched or replaced.
7. Post-Installation: The Curing Period
Smart film is electronic. The bubbles you see immediately after install are usually moisture.
The Drying Time: Automotive applications take longer to dry than flat glass because the film is sealed tight against the curve by the gaskets. It can take up to 5-14 days (depending on climate) for all microscopic moisture to dissipate.
Do Not Disturb: If you see small hazes or water marks a day after install, leave them alone. They will likely dry out. Pressing on them now can create permanent fingernail impressions.
The First Activation: Do not test the electrical switching for at least 48-72 hours. The power running through the conductive coating can react with trapped moisture, causing the film to short out or delaminate. Wait until the film is completely dry before connecting the power supply.

8. Conclusion: Patience Over Perfectionism
Applying smart film to curved car windows is a blend of material science and art. The difference between a bubbly, failed installation and a flawless, professional result lies in understanding the behavior of the film under stress.
The Golden Rules:
Pre-Shrink: Always relieve the tension in the film before final application.
Heat is Your Friend: Use it to mold the film, not melt it.
Center-Out: Always work the liquid and air from the high points to the edges.
Cleanliness is Godliness: The dust you miss today is the bubble you curse tomorrow.
By respecting the curve and using these professional techniques, you can ensure that your smart film installation is crystal clear, functional, and truly bubble-free.
For more about the no more bubbles: professional tips for applying smart film to curved car windows, you can pay a visit to Hechen PDLC Smart Film Manufacturers for more info.