How to Apply Switchable Privacy Window Film
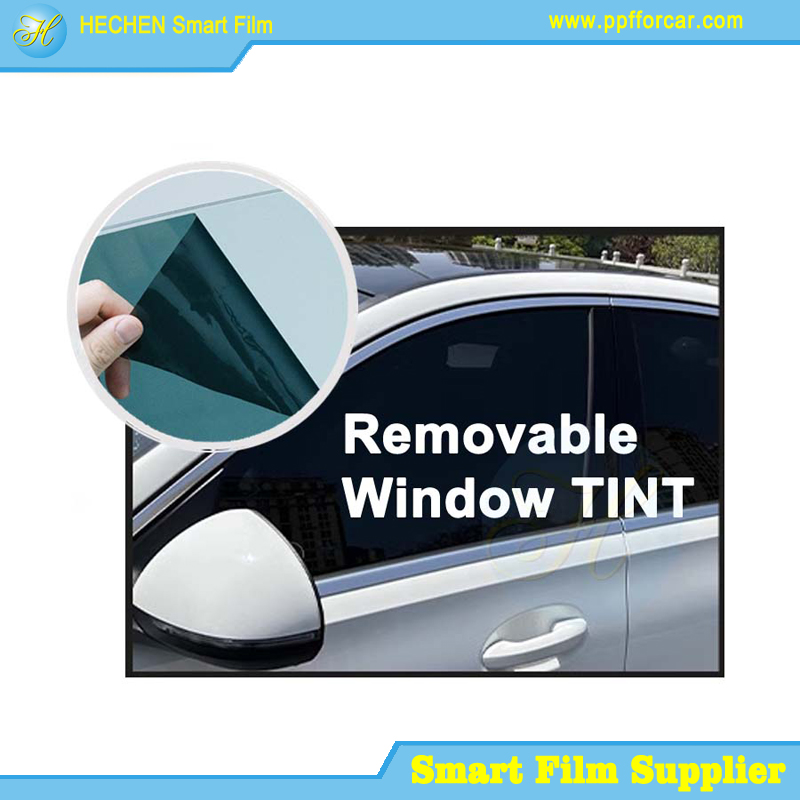
Switchable privacy window film, also known as smart film or PDLC (Polymer Dispersed Liquid Crystal) film, represents a cutting-edge technology in modern architecture and interior design. This innovative material allows users to control the transparency of glass surfaces with the flip of a switch, transforming from opaque to clear in milliseconds. At its core, the film consists of liquid crystals suspended in a polymer matrix between two conductive layers. When no electricity is applied, the crystals scatter light, creating a frosted, privacy-enhancing appearance. Applying a low-voltage current aligns the crystals, allowing light to pass through unobstructed for full transparency.
The appeal of switchable privacy film lies in its versatility and practicality. Homeowners use it on windows, shower doors, or partitions to balance natural light with on-demand privacy, eliminating the need for blinds or curtains. In commercial settings, it's ideal for conference rooms, hospitals, or retail displays, where it can switch to projection screens or advertising surfaces. For instance, in luxury homes or offices, it adds a futuristic touch while enhancing energy efficiency by reducing the need for artificial lighting during the day. Environmentally, it promotes sustainability by minimizing reliance on physical shades that wear out over time.

Benefits extend beyond aesthetics. It provides UV protection, blocking up to 99% of harmful rays, which helps prevent furniture fading and reduces cooling costs in sunny climates. Acoustically, it offers minor sound insulation, creating quieter spaces. Security-wise, the opaque mode deters prying eyes without obstructing views from inside when transparent. Compared to traditional privacy solutions like etched glass or mechanical blinds, switchable privacy window film is retrofit-friendly, applying directly to existing glass without major renovations. Costs vary, but DIY installation can save significantly over professional services, making it accessible for enthusiasts.
However, successful application requires precision. Mistakes like poor cleaning or improper wiring can lead to bubbles, peeling, or electrical failures. This guide draws from expert sources to provide a comprehensive, step-by-step process for DIY installation. We'll cover materials, preparation, installation, wiring, troubleshooting, and maintenance to ensure a professional finish. Note that while DIY is feasible, consulting an electrician for wiring is recommended for safety, especially in wet areas like bathrooms.
Understanding the types of film is crucial. Self-adhesive films stick directly via a pressure-sensitive layer, while non-adhesive versions require mechanical fixation like tape. Most are dry-install (no water), but some allow light wetting for adjustment. Always check manufacturer specs, as variations exist. With proper execution, your film can last over a decade, offering reliable privacy control.
Materials and Tools Needed
Gathering the right materials upfront is essential for a smooth installation. Based on industry standards, here's a comprehensive list compiled from reliable guides.
Film and Core Components:
· Switchable privacy window film (pre-cut to size or roll; self-adhesive or non-adhesive type).
· Transformer/power supply (typically 48-60VAC, 50Hz; matched to film size to avoid overload).
· Wiring kit: 18-gauge electrical wires, lead-free solder, and connectors.
Cleaning and Preparation Tools:
· Isopropyl alcohol (99% or higher) for degreasing.
· Microfiber cloths or lint-free wipes.
· Glass cleaner (anti-static, non-abrasive).
· Window scraper or razor blade for removing debris.
Application Tools:
· Squeegee or rubber roller for smoothing bubbles.
· Utility knife or precision cutter for trimming.
· Measuring tape for accurate sizing.
· Low-adhesive painter's tape for masking edges.
Sealing and Protection:
· Neutral-cure silicone sealant (acid-free, e.g., Dow Corning or Toshiba GE83; clear, white, or matching color).
· Non-conductive trim or edge tape (e.g., 3M VHB double-sided tape for non-adhesive films).
Safety and Miscellaneous:
· Nitrile or latex gloves to prevent oils from fingers.
· Air particulate meter (optional, for dust-free environments).
· Heat gun or hairdryer (for activating adhesion if needed).
· Soldering iron and wire stripper for electrical connections.
Ensure all materials are compatible with your film type. For example, self-adhesive films often include a release liner, while non-adhesive ones need additional tape. Purchase from reputable suppliers to avoid defects. Budget for extras like practice pieces, as many kits include them for testing. Total cost for materials might range from $100-500 depending on window size, excluding the film itself, which can be $20-50 per square foot.

Preparation
Preparation accounts for up to 80% of installation success, as contaminants or misalignment can ruin the outcome. Start by selecting an appropriate workspace: a clean, dust-free room with good lighting and temperature between 55-95°F (13-35°C). Avoid garages or outdoor areas where wind or debris could interfere. If dust is an issue, mist the air with water an hour beforehand to settle particles, or use an air purifier.
First, inspect the glass surface. It must be smooth, free of cracks, chips, or pits, as imperfections can trap air or reduce adhesion. For framed windows, note any hardware like handles that may require cutouts. Measure the glass precisely: The film should be 1/8 inch (2-3mm) smaller on all sides to allow for expansion, centering, and wiring clearance. Use a tape measure and mark with painter's tape. If the film arrives oversized, dry-fit it and trim with a sharp knife on a flat surface—never cut while powered on.
Clean the glass meticulously. Begin with a scraper to remove stickers or residue, then spray with glass cleaner and wipe with a microfiber cloth. Follow up with isopropyl alcohol to eliminate oils—ensure the surface is 100% dry, as most installations are dry-apply. Clean both sides of the film’s protective liners too. Wear gloves throughout to avoid fingerprints.
Unpack the film carefully, laying it flat to acclimate for 6-12 hours (or up to 24-48 for non-adhesive types). Test functionality: Connect to the transformer (powered off first) and verify it switches from opaque to clear. Report defects immediately to the supplier. For large pieces, enlist helpers to prevent bending, which can damage the liquid crystals.
Safety during prep: Work in a well-ventilated area when using alcohol or sealants to avoid fumes. Keep children and pets away, and unplug all electronics until wiring stage. Common pitfalls include rushing measurements or skipping cleaning, leading to bubbles or poor sticking—double-check everything.
Step-by-Step Installation Guide
With preparation complete, proceed to installation. This guide assumes a self-adhesive dry-install film, the most common type; adjust for variations like wet-apply or non-adhesive as noted. Work slowly, ideally with a partner for larger windows.
Step 1: Position the Switchable Privacy Window Film
Lay the film adhesive-side up on a clean surface. Peel back 20-30mm (about 1 inch) of the release liner from one edge, folding it under without removing fully. Align this exposed strip with the top of the glass, ensuring even gaps on sides. Press down gently with your gloved hand or a squeegee to secure. This partial peel prevents dust contamination and allows adjustments.
For wet-apply films (rarer for switchable types), lightly spray the glass with soapy water first for slidability. Avoid water on dry-install films, as it can damage the electrostatic layer.
Step 2: Apply the Film Gradually
While one person holds the film steady, the other slowly peels the liner downward in sections (never all at once). Simultaneously, use the squeegee to press the film onto the glass, starting from the center and working outward in horizontal strokes. This expels air and ensures even adhesion. For non-adhesive films, apply double-sided tape around the perimeter first, then position and roll flat.
If bubbles form, lift the nearest edge carefully (using tape as a handle if needed), remove dust with adhesive tape, and reapply. Work methodically to avoid wrinkles—rushing here is a top error.
Step 3: Smooth and Trim
Once fully applied, squeegee the entire surface firmly to remove any remaining air pockets. Use a heat gun on low if adhesion needs activation, but only for compatible films. Trim excess with a utility knife, following the glass edge but maintaining the 1/8-inch gap. For hardware cutouts, mark and cut precisely with a sharp blade.
Remove the protective liner from the outer (non-adhesive) side using tape to grip and peel at an angle. This reveals the final surface.
Step 4: Seal the Edges
Apply a thin bead of neutral-cure silicone around all edges to protect against moisture, dirt, and delamination. Use painter's tape to mask for clean lines, then smooth with a finger or tool. Allow 24-48 hours to cure before full use—test on a sample first. For frameless glass, encapsulate fully; avoid acidic sealants, which can corrode the film.
Step 5: Final Checks
Allow the film to acclimate for 24-48 hours (up to 96 for optimal bonding). During this, keep it powered off. Inspect for imperfections; self-adhesive films often outgas minor bubbles naturally.
Variations: For glass doors or curved surfaces (rare for switchable film), consult specific guides. Professional installers might use rollers for uniformity on large areas.
Safety: Never bend the film or handle by wires. Ensure no metal contact to prevent shorts. If installing in wet areas, seal thoroughly and position wiring at the top.
This process typically takes 1-3 hours per window, depending on size. Patience yields a bubble-free, durable result.
Electrical Wiring and Setup
Wiring brings the film to life but demands caution—improper connections risk shocks or damage. Always power off during installation.
Step 1: Prepare Connections
The film has busbars (copper strips) with pre-attached leads. Strip 18-gauge extension wires and solder to these using a soldering iron and lead-free solder. Insulate joints with tape or heat-shrink tubing to prevent exposure.
Step 2: Route Wires
Hide wires along the frame or through drilled holes (for new installs). Ensure they don't touch metal—use non-conductive trim. Position the transformer nearby, within 100 feet max, in a dry spot.
Step 3: Connect to Power
Follow the manufacturer's diagram: Link wires to the transformer's output (48-60VAC, not exceeding 65VAC). Include a fuse matching specs to protect against overloads. Plug into a standard outlet or hardwire via an electrician. For control, use a wall switch, remote (battery not included), or Wi-Fi module for app integration.
Step 4: Test
Power on: The film should clear instantly. If opaque when off and clear when on, it's correct. Cycle several times to confirm.
Safety: Use certified components; avoid DIY if unsure—hire an electrician. In wet environments, seal connections at the panel head. Never substitute higher fuses or exceed voltage, as this voids warranties and risks fire.
Troubleshooting Common Issues
Issues often stem from prep or wiring. For bubbles post-install: If minor, they may dissipate; otherwise, lift and clean dust. Peeling edges? Reapply silicone—check for contamination.
Non-functioning film: Verify power at breaker, switch, and transformer. Blown fuse? Replace with exact rating. Shorts from metal contact? Insulate properly.
Delamination: Caused by wrong sealant or moisture; reseal immediately. If film won't clear, inspect solder joints or voltage.
For persistent problems, consult a certified electrician. Avoid self-repairs on electrics to prevent hazards.
Maintenance and Care
Maintained properly, the film lasts 10+ years. Clean with a soft cloth and isopropyl alcohol only—avoid abrasives or water on edges. Inspect seals annually; reapply if cracked. Keep indoors, away from direct sun to prevent fading.

Conclusion
Applying switchable privacy window film transforms spaces with modern convenience. By following this guide, you'll achieve professional results safely. Enjoy your enhanced privacy!
For more about how to apply switchable privacy window film, you can pay a visit to Hechen PDLC Smart Film Manufacturers for more info.